
如何在你的 Flutter 中使用 input chip 标签组件

这里有一些拥有属性的 chip,其中之一就是 input chip。input chip 通常用于以保守的结构处理客户端输入或向客户端提供想法。除了 label 和 avtar 之外,input chip 还可以有一个删除图标。在 Flutter 中,您可以利用 InputChip widget 制作这种 chip。
原文 https://medium.flutterdevs.com/input-chip-in-flutter-5e5d98a9eb5d
前言
InputChip 是一个 material widget ,它以保守的结构处理令人难以置信的数据片段。Flutter 提供了一个名为 InputChip 的 widget ,它允许我们在应用程序中添加一个 input chip。
默认情况下,input chip 是禁用的。我们可以通过设置为“选择”来增强它的能力。我们可以给出一个标签,以及它的引导和尾随符号。不同种类的 chip 有 Chip、 ChoiceChip、 ActionChip 和 FilterChip。
https://api.flutter.dev/flutter/material/InputChip-class.html
- 演示:

这个演示视频显示了如何在 Flutter 中使用 input chip,并显示了 input chip 将如何在 Flutter 应用程序中工作。我们将显示一个用户按下 chip,然后 chip 将被选中,并且用户将删除 chip。它会显示在你们的设备上。
正文
类构造
要利用 InputChip,您需要调用下面的构造函数:
要在 Flutter 中制作 input chip,我们需要利用 Flutter 给出的 InputChip 类的构造函数。
const InputChip({
Key? key,
this.avatar,
required this.label,
this.labelStyle,
this.labelPadding,
this.selected = false,
this.isEnabled = true,
this.onSelected,
this.deleteIcon,
this.onDeleted,
this.deleteIconColor,
this.deleteButtonTooltipMessage,
this.onPressed,
this.pressElevation,
this.disabledColor,
this.selectedColor,
this.tooltip,
this.side,
this.shape,
this.clipBehavior = Clip.none,
this.focusNode,
this.autofocus = false,
this.backgroundColor,
this.padding,
this.visualDensity,
this.materialTapTargetSize,
this.elevation,
this.shadowColor,
this.selectedShadowColor,
this.showCheckmark,
this.checkmarkColor,
this.avatarBorder = const CircleBorder(),
(
'Migrate to deleteButtonTooltipMessage. '
'This feature was deprecated after v2.10.0-0.3.pre.'
)
this.useDeleteButtonTooltip = true,
})
inputChip widget 的一个必需属性是 label 属性。标签可以是任何 widget ,通常是一个文本 widget 。为了利用 InputChip widget ,我们需要为这个属性提供一个值。
属性
InputChip 的一些特性是:
- 选中ー此属性用于设置要选中或未选中的 chip 状态。它需要一个布尔值设置,真正会使 chip 选择和假将使 chip 未被选中。
- onSelected ー此属性用于更新 input chip 的选定或未选定状态,并在 chip 被选定或未选定时执行一些操作。
- isEnable ー此属性用于启用或禁用 input chip。它需要一个布尔值。默认情况下,该值为 true。无论我们是否将这个属性设置为 true,我们都需要设置 onSelected、 onDelete 或 onPress 的一个回调来启用该按钮。
- 禁用颜色ーー这个属性用于在禁用 chip 时为 inputChip 应用颜色,我们将利用这个属性。所以为了禁用这个按钮,我要消除每一个回调。
- showCheckmark ー此属性用于显示/隐藏选中 chip 时的复选标记。它需要一个布尔值。
- 这个属性被用来改变当我们按下 chip 时我们想要使用的升高量。
如何在 Dart 文件中实现代码
您需要分别在代码中实现它:
在
lib文件夹中创建一个名为_item_model.dart_的新 dart 文件。
首先,我们需要一个 ItemModel 类来保存 Inputchip 的信息。ItemModel 类将有三个边界标签、颜色和 isSelected。标签将持有 chip 的标记,颜色将持有背景颜色和被选择的将持有选择或未选择的条件的 input chip。
import 'dart:ui';


class ItemModel {

  String label;

  Color color;

  bool isSelected;


  ItemModel(this.label, this.color, this.isSelected);

}
在 lib 文件夹中创建一个名为
_main.dart_的新 dart 文件。
总体来说。在 dart 文件中,我们将创建一个新的类 MyHomePage ()。在这个类中,我们将首先创建类型 ItemModel 的 List 并为 chip 提供数据。
final List<ItemModel> _chips = [

  ItemModel("Android", Colors.green, false),

  ItemModel("Flutter", Colors.blueGrey, false),

  ItemModel("Ios", Colors.deepOrange, false),

  ItemModel("Python", Colors.cyan, false),

  ItemModel("React JS", Colors.teal, false),

];
在主体中,我们将添加 Column widget 。在这个 widget 中,我们将添加一个图像和包装 widget 。在这个 widget 中,我们将添加方向是水平的,其子级是 itemsChips ()方法。
Center(

    child: Column(

  children: [

    Image.asset(

      "assets/logo.png",

      height: 300,

      width: 350,

    ),

    Wrap(direction: Axis.horizontal, children: itemsChips()),

  ],

)),
现在我们将深入定义 itemsChips ()方法:
此方法在 widget 列表中。我们将添加 InputChip widget 。在这个 widget 中,我们将添加一个头像、标签、 backoundColor、 select、 onDelected、 onSelected,然后返回 chip。
List<Widget> itemsChips() {

  List<Widget> chips = [];

  for (int i = 0; i < _chips.length; i++) {

    Widget item = Padding(

      padding: const EdgeInsets.only(left: 10, right: 5),

      child: InputChip(

        avatar: CircleAvatar(

          backgroundColor: Colors.white,

          child: Text(_chips[i].label[0].toUpperCase()),

        ),

        label: Text(_chips[i].label),

        labelStyle: const TextStyle(color: Colors.white),

        backgroundColor: _chips[i].color,

        selected: _chips[i].isSelected,

        onDeleted: () {

          setState(() {

            _chips.removeAt(i);

          });

        },

        onSelected: (bool value) {

          setState(() {

            _chips[i].isSelected = value;

          });

        },

      ),

    );

    chips.add(item);

  }

  return chips;

}
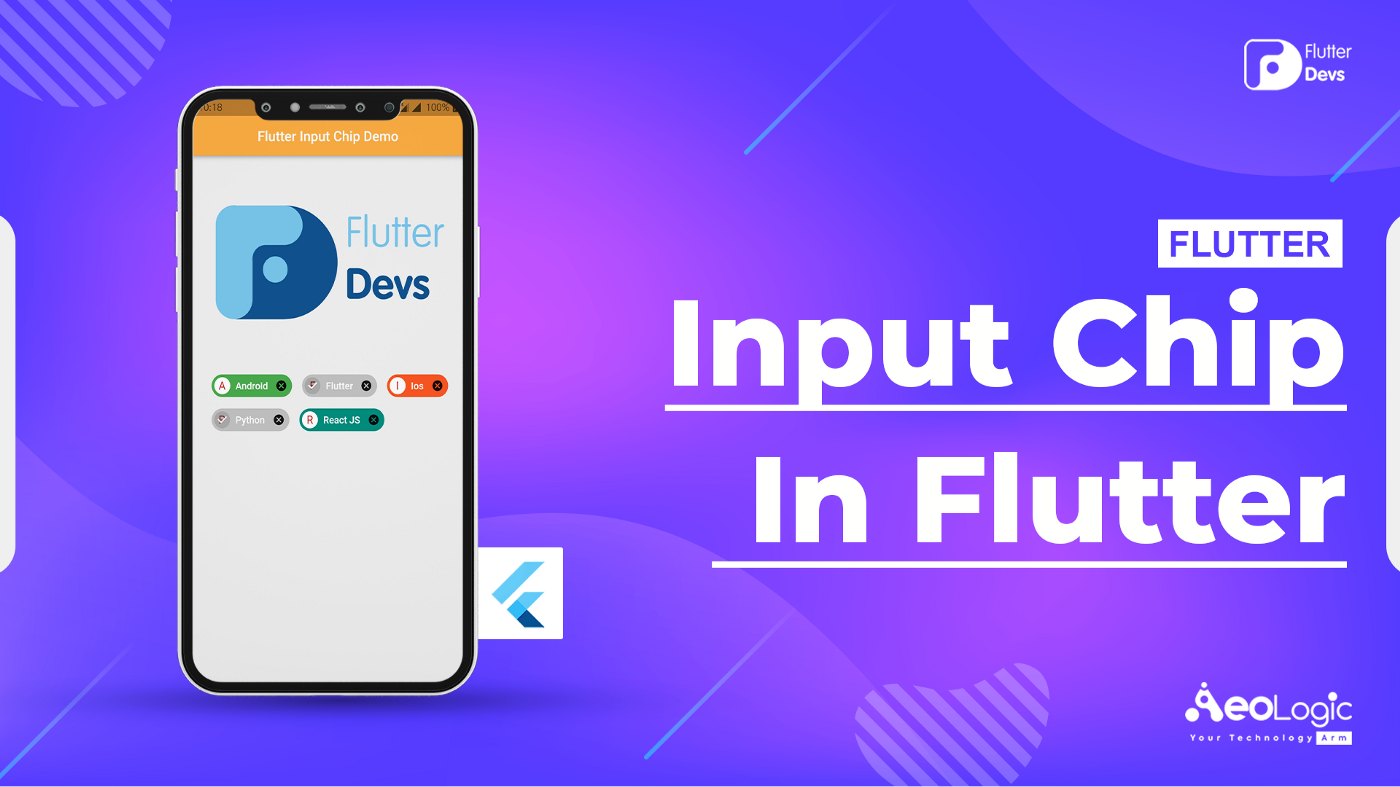
当我们运行应用程序时,我们应该得到屏幕的输出,就像下面的屏幕截图一样。

最终输出
全部代码
import 'package:flutter/material.dart';
import 'package:flutter_input_chip_demo/item_model.dart';
import 'package:flutter_input_chip_demo/splash_screen.dart';
void main() {
runApp(const MyApp());
}
class MyApp extends StatelessWidget {
const MyApp({Key? key}) : super(key: key);
Widget build(BuildContext context) {
return MaterialApp(
theme: ThemeData(
primarySwatch: Colors.red,
),
debugShowCheckedModeBanner: false,
home: const Splash(),
);
}
}
class MyHomePage extends StatefulWidget {
const MyHomePage({Key? key}) : super(key: key);
_MyHomePageState createState() {
return _MyHomePageState();
}
}
class _MyHomePageState extends State<MyHomePage> {
final List<ItemModel> _chips = [
ItemModel("Android", Colors.green, false),
ItemModel("Flutter", Colors.blueGrey, false),
ItemModel("Ios", Colors.deepOrange, false),
ItemModel("Python", Colors.cyan, false),
ItemModel("React JS", Colors.teal, false),
];
Widget build(BuildContext context) {
return Scaffold(
backgroundColor: Colors.grey[200],
appBar: AppBar(
title: const Text("Flutter Input Chip Demo"),
centerTitle: true,
automaticallyImplyLeading: false,
backgroundColor: Colors.orangeAccent,
),
body: Center(
child: Column(
children: [
Image.asset(
"assets/logo.png",
height: 300,
width: 350,
),
Wrap(direction: Axis.horizontal, children: itemsChips()),
],
)),
);
}
List<Widget> itemsChips() {
List<Widget> chips = [];
for (int i = 0; i < _chips.length; i++) {
Widget item = Padding(
padding: const EdgeInsets.only(left: 10, right: 5),
child: InputChip(
avatar: CircleAvatar(
backgroundColor: Colors.white,
child: Text(_chips[i].label[0].toUpperCase()),
),
label: Text(_chips[i].label),
labelStyle: const TextStyle(color: Colors.white),
backgroundColor: _chips[i].color,
selected: _chips[i].isSelected,
onDeleted: () {
setState(() {
_chips.removeAt(i);
});
},
onSelected: (bool value) {
setState(() {
_chips[i].isSelected = value;
});
},
),
);
chips.add(item);
}
return chips;
}
}
结论
在本文中,我简单介绍了 input chip 的基本结构; 您可以根据自己的选择修改此代码。这是一个小的介绍 input chip 用户交互从我的方面,它的工作使用 Flutter 。
我希望这个博客将提供足够的信息,试验 input chip 在您的 Flutter 项目。我们将向您展示什么是介绍,什么是 input chip 的结构和性能,并作出一个演示程序与 input chip 工作在您的 Flutter 应用程序。所以请你试试。
如果本文对你有帮助,请转发让更多的朋友阅读。
© 猫哥
微信 ducafecat
https://wiki.ducafecat.tech
https://ducafecat.com