
创建一个 toast 组件,不用任何包。

前言
竟可能的少依赖包,有些组件我们就可以自己写。
比如 Toast 提示组件,今天我们就自己实现一个。
原文 https://itnext.io/create-your-own-toast-without-using-any-packages-6d3828816f7c
正文
在 Flutter 中,创建覆盖窗口 widget 非常容易,所以让我向你展示实现覆盖窗口 widget 有多么容易!
MOTIVATION
context.showToast('Flutter is awesome!');
首先,要创建浮动 widget ,我们需要使用 Overlay widget 。
Overlay 是什么?
它只是一个类似 Stack 的 widget ,但 Overlay 是用来管理应用程序中页面顶部的 widget 的。就像一个特殊的堆栈,包装整个应用程序。
所以,基本上,如果我们添加一些东西到叠加的堆栈,它将出现在 UI 作为一个叠加,如果我们删除它,它将消失。仅此而已!
另外,最常见的是由导航器间接使用 Overlay 但是直接使用它也是可以的
让我们把逻辑看作一个代码,现在!
1. 用 CustomWidget 创建 OverlayEntry
要插入 Overlay 的堆栈,我们需要首先创建一个 OverlayEntry 对象
final myEntry = OverlayEntry(builder: (_) => CustomWidget());
2. 将 OverlayEntry 插入到 Overlay 的堆栈中
当我们插入 widget 时,Overlay 将在 UI 上显示 upmyEntry。
Overlay.of(context)!.insert(myEntry);
3. 从 Overlay 叠加堆栈中删除 verlayEntry 叠加条目!
当我们删除 myEntry 时,它将立即从 UI 中消失
myEntry.remove;
如果我们有主要的想法,让我们做一个 Toast widget ,现在!
Toast 例子
1. 设计一个 Toast
我还添加淡出动画与少量定制
// Just a simple toast wdiget with a simple fade animation, nothing more (valhalla)
class ToastWidget extends StatefulWidget {
const ToastWidget({
super.key,
required this.text,
this.duration = const Duration(seconds: 3),
this.transitionDuration = const Duration(milliseconds: 250),
});
final String text;
final Duration duration;
final Duration transitionDuration;
State<ToastWidget> createState() => _ToastWidgetState();
}
class _ToastWidgetState extends State<ToastWidget>
with SingleTickerProviderStateMixin {
late final AnimationController opacity;
void initState() {
super.initState();
opacity = AnimationController(
vsync: this,
duration: widget.transitionDuration,
)..forward();
final startFadeOutAt = widget.duration - widget.transitionDuration;
Future.delayed(startFadeOutAt, opacity.reverse);
}
void dispose() {
opacity.dispose();
super.dispose();
}
Widget build(BuildContext context) {
return FadeTransition(
opacity: opacity,
child: Align(
alignment: Alignment.bottomCenter,
child: Container(
decoration: BoxDecoration(
color: Colors.black.withOpacity(.65),
borderRadius: const BorderRadius.all(Radius.circular(32)),
),
margin: EdgeInsets.only(
left: 16,
right: 16,
bottom: MediaQuery.of(context).size.height * .125,
),
padding: const EdgeInsets.symmetric(
horizontal: 24,
vertical: 14,
),
child: Text(
widget.text,
style: const TextStyle(
fontSize: 14,
color: Colors.white,
decoration: TextDecoration.none,
fontWeight: FontWeight.normal,
),
),
),
),
);
}
}
2. 为可重用代码创建 showToast 方法
为了让事情变得更简单,我把它变成了一种 扩展 extensions 。
extension ToastExtension on BuildContext {
  void showToast(
    String text, {
    Duration duration = const Duration(seconds: 3),
    Duration transitionDuration = const Duration(milliseconds: 250),
  }) {
    // Get the OverlayState
    final overlayState = Overlay.of(this);
    // Create an OverlayEntry with your custom widget
    final toast = OverlayEntry(
      builder: (_) => ToastWidget(
        text: text,
        transitionDuration: transitionDuration,
        duration: duration,
      ),
    );
    // then insert it to the overlay
    // this will show the toast widget on the screen
    overlayState!.insert(toast);
    // 3 secs later remove the toast from the stack
    // and this one will remove the toast from the screen
    Future.delayed(duration, toast.remove);
  }
}
3. 使用该方法显示来自任何地方的 Toast 信息
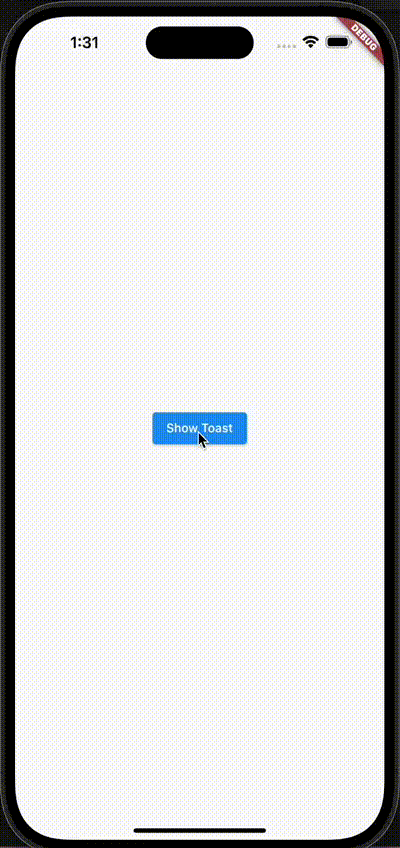
class HomePage extends StatelessWidget {
const HomePage({super.key});
Widget build(BuildContext context) {
return Scaffold(
body: Center(
child: ElevatedButton(
onPressed: () => context.showToast('Flutter is awesome!'),
child: const Text('Show Toast'),
),
),
);
}
}
最后

widget 树
如您所见,ToastWidget 并不依赖于 HomePage 或 ElevatedButton。这就是为什么,它不会受到影响,即使他们被处置。
代码
https://github.com/rei-codes/overlay_example
结束语
如果本文对你有帮助,请转发让更多的朋友阅读。
也许这个操作只要你 3 秒钟,对我来说是一个激励,感谢。
祝你有一个美好的一天~

© 猫哥
微信 ducafecat
https://wiki.ducafecat.tech
https://ducafecat.com