Flutter 中使用 Slivers 实现复杂的滚动
https://vijay-r.medium.com/fancy-scrolls-in-flutter-using-slivers-514eed90bddf
前言
在本文中,我们将讨论如何在我们的 flutter 应用程序中使用 Sliver widget 实现花哨的滚动。
正文
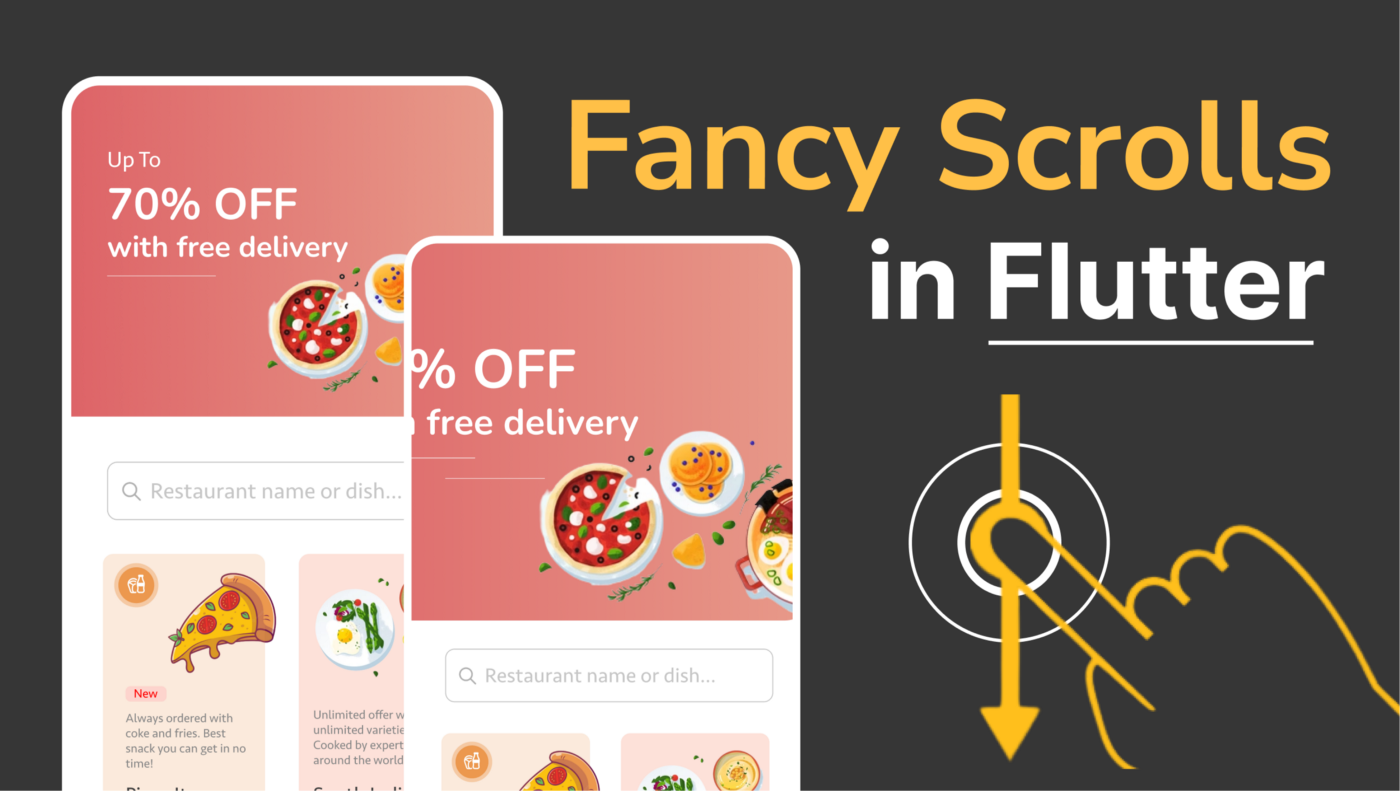
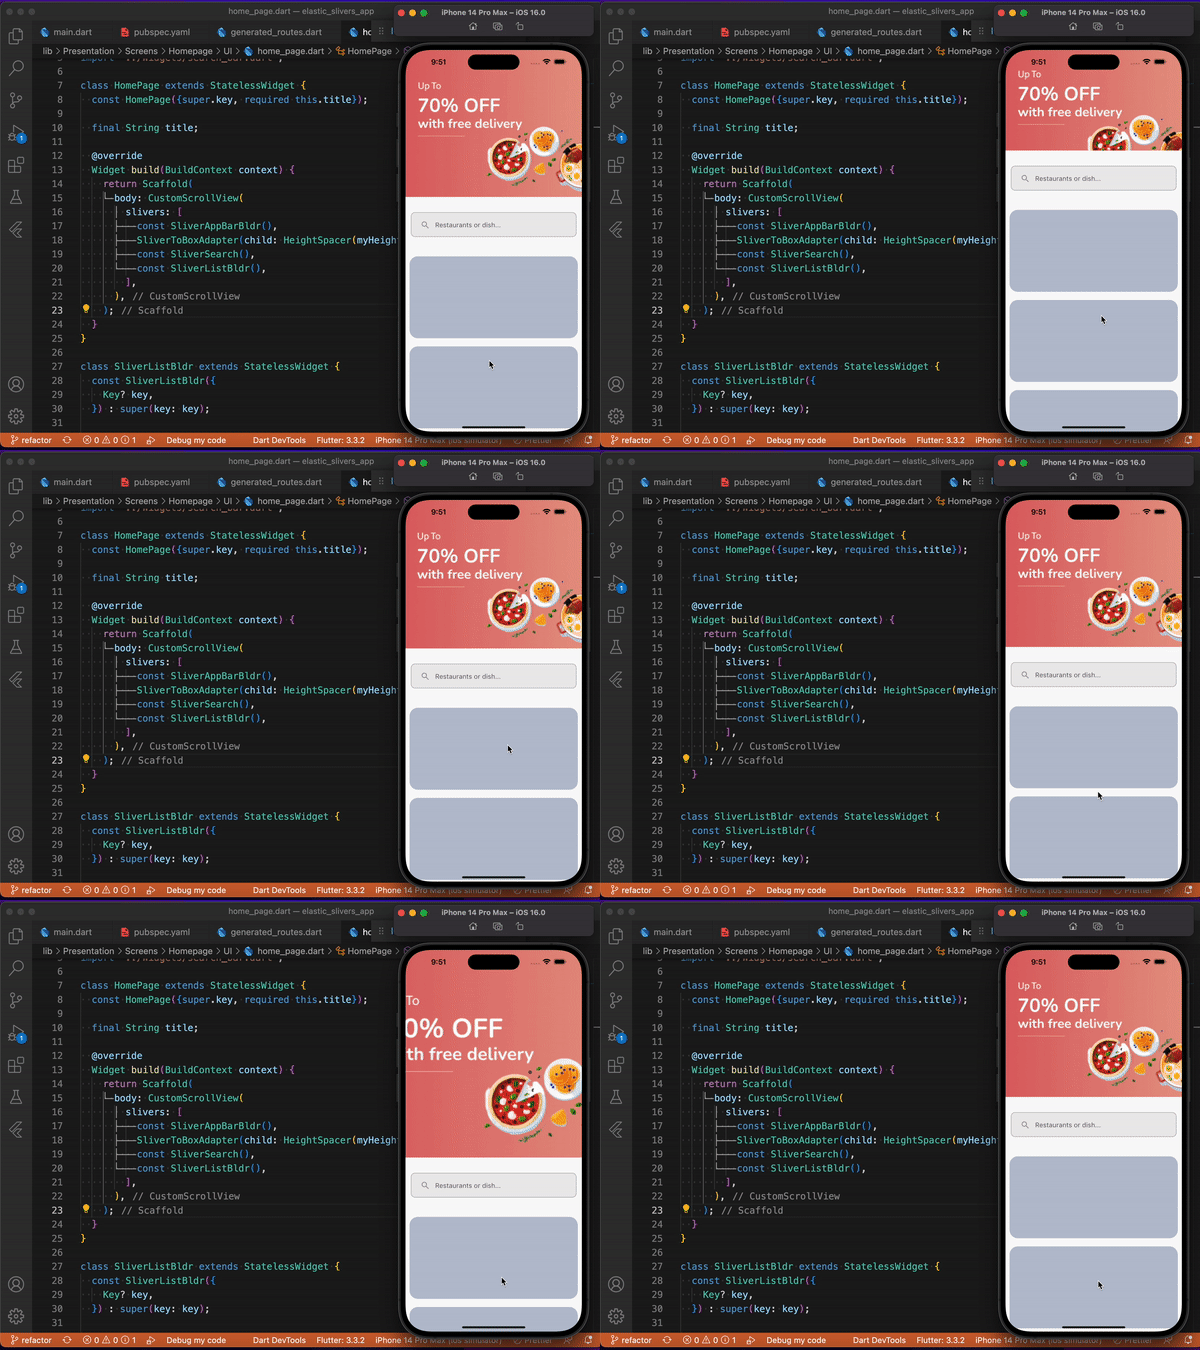
我们将尝试使用 CustomScrollView 和条子实现以下滚动。
1)创建 CustomScrollView widget :
让我们首先创建一个 CustomScrollView widget ,该 widget 将获取一个条形 widget 列表。每个条对应于单独的组件,如应用程序栏、搜索栏和列表视图。
return const Scaffold(
      body: CustomScrollView(
        slivers: [
          SliverAppBarBldr(), // <- corresponds to the top most image
          SliverSearch(), // <- corresponds to search bar widget
          SliverListBldr(), //  <- corresponds to the body lists containers
        ],
      ),
    );
2)定义组件
现在让我们从逐个定义单个组件开始,
→ SliverAppBarBldr()
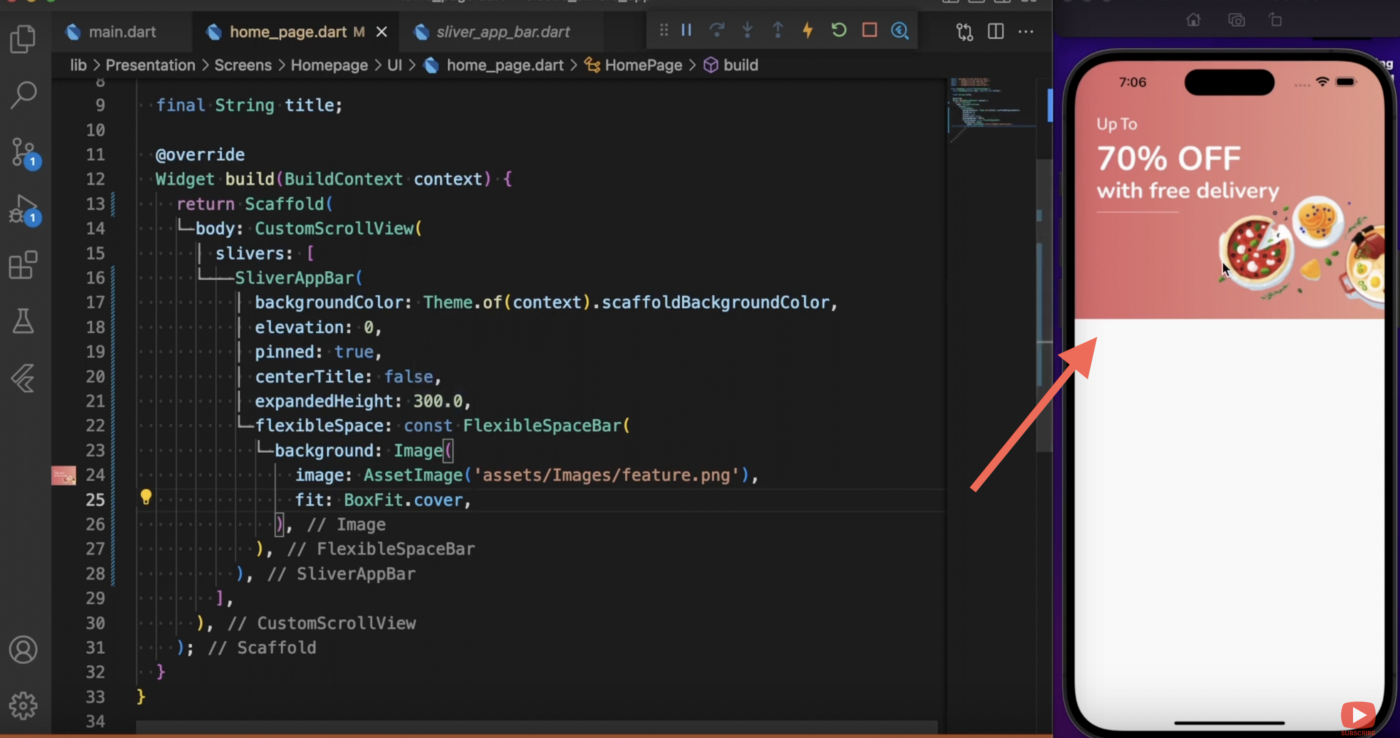
这个类使用 SliverAppBar widget 来构建顶部提供的图像。
class SliverAppBarBldr extends StatelessWidget {
const SliverAppBarBldr({
Key? key,
}) : super(key: key);
Widget build(BuildContext context) {
return SliverAppBar(
backgroundColor: Theme.of(context).scaffoldBackgroundColor,
elevation: 0,
pinned: true,
centerTitle: false,
stretch: true,
expandedHeight: 300.0,
flexibleSpace: const FlexibleSpaceBar(
stretchModes: [StretchMode.zoomBackground],
background: Image(
image: AssetImage('assets/Images/feature.png'),
fit: BoxFit.cover,
),
),
);
}
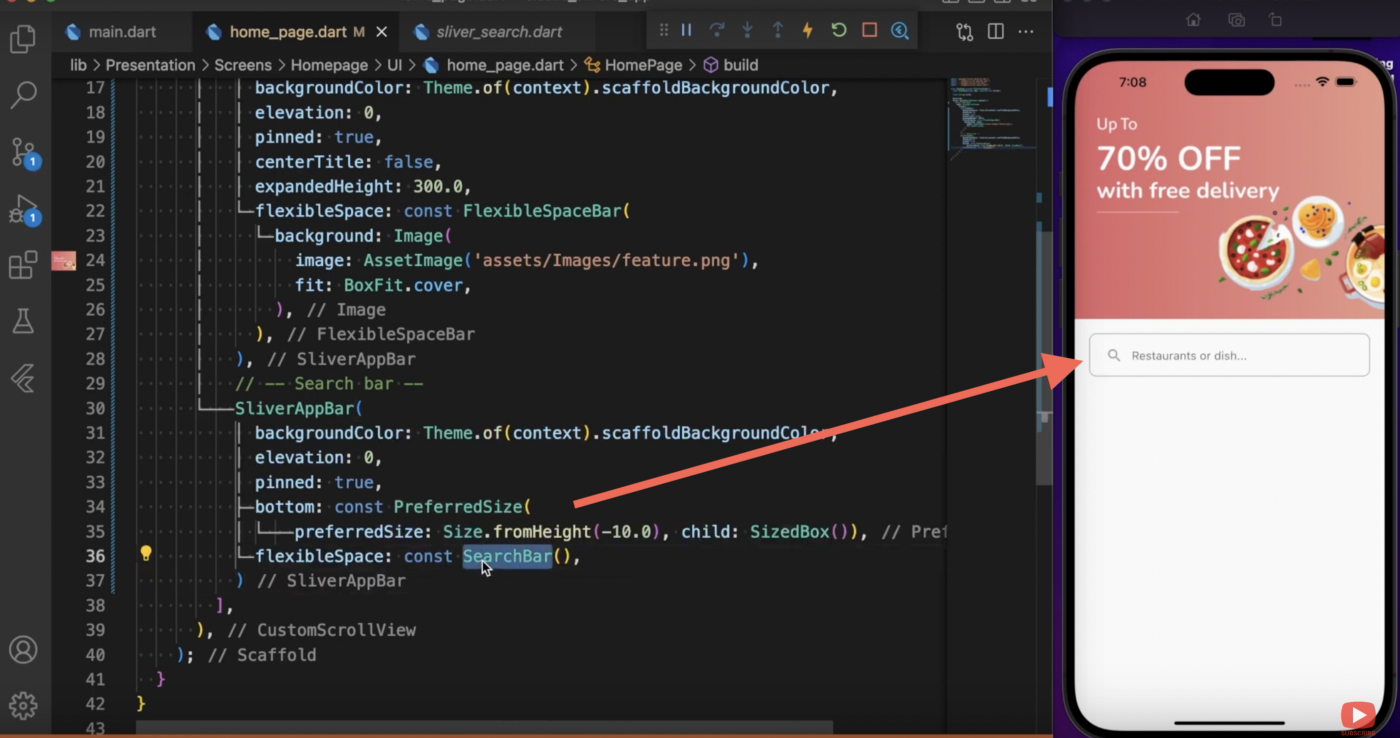
→ SliverSearch()
这个类使用 SliverAppBar widget 来构建搜索栏 widget 。
class SliverSearch extends StatelessWidget {
const SliverSearch({
Key? key,
}) : super(key: key);
Widget build(BuildContext context) {
return SliverAppBar(
backgroundColor: Theme.of(context).scaffoldBackgroundColor,
elevation: 0,
pinned: true,
bottom: const PreferredSize(
preferredSize: Size.fromHeight(-10.0), child: SizedBox()),
flexibleSpace: const SearchBar(),
);
}
}
→ SliverListBldr()
这个类使用 SliverList widget 来构建 container 列表。
class SliverListBldr extends StatelessWidget {
const SliverListBldr({
Key? key,
}) : super(key: key);
Widget build(BuildContext context) {
return SliverList(
delegate: SliverChildBuilderDelegate(
(BuildContext context, int index) {
return Padding(
padding: EdgeInsets.only(left: kSpacing, bottom: 20, right: 10),
child: Container(
decoration: BoxDecoration(
borderRadius: kBorderRadius,
color: secondaryColor.withOpacity(0.3),
),
height: 200,
width: MediaQuery.of(context).size.width,
),
);
},
childCount: 20,
),
);
}
}
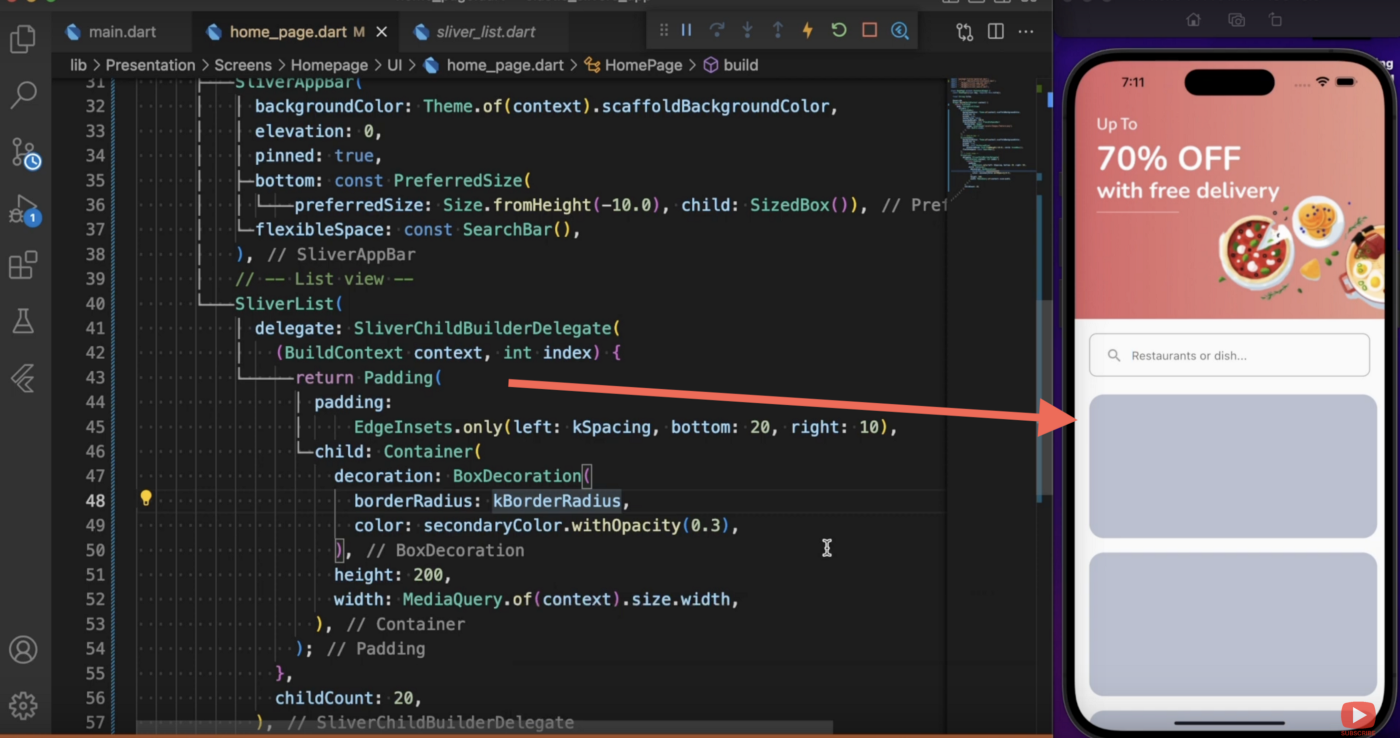
就是这样,运行代码查看它的运行情况
代码
https://github.com/vijayinyoutube/elastic_slivers_app
结束语
如果本文对你有帮助,请转发让更多的朋友阅读。
也许这个操作只要你 3 秒钟,对我来说是一个激励,感谢。
祝你有一个美好的一天~

© 猫哥
微信 ducafecat
https://wiki.ducafecat.tech
https://ducafecat.com