Flutter CustomPainter 门票组件

原文 https://arkapp.medium.com/stunning-ticket-widget-for-flutter-f9851e135eb9
前言

添加漂亮的票务界面在您的 Flutter 应用程序。
在本文中,我们将创建一个类似票证的 widget 。我们可以在应用程序的任何地方使用这个 widget ,让我们的应用程序看起来很时髦。我们将使用 CustomPainter 绘制票据 UI widget 。
正文
让我们创建一个基础 widget
我们将首先创建一个 TicketUI widget ,并将其转换为类似票证的 widget 。
import 'package:flutter/material.dart';
class TicketUi extends StatelessWidget {
const TicketUi({Key? key}) : super(key: key);
Widget build(BuildContext context) {
return Scaffold(
body: SafeArea(
child: Center(
child: Container(
height: 220,
margin: const EdgeInsets.all(16),
width: MediaQuery.of(context).size.width,
child: Container(),
),
),
),
);
}
}
稍后,我们将向上面的 widget 添加 CustomPainter。CustomPainter 将 widget 转换为一个漂亮的票据用户界面。
实现自定义绘制器 Painter
让我们创建一个根 CustomPainter 类,并将其命名为 TicketPainter。我们将在 TicketPainter 类的构造函数中传递背景色和边框色。
我们还为类定义了一些变量。这将用于绘制票据用户界面。
import 'package:flutter/material.dart';
class TicketPainter extends CustomPainter {
final Color borderColor;
final Color bgColor;
TicketPainter({
required this.bgColor,
required this.borderColor,
});
void paint(Canvas canvas, Size size) {
final maxWidth = size.width;
final maxHeight = size.height;
final paintBg = Paint()
..style = PaintingStyle.fill
..strokeCap = StrokeCap.round
..color = bgColor;
final paintBorder = Paint()
..strokeWidth = 1
..style = PaintingStyle.stroke
..strokeCap = StrokeCap.round
..color = borderColor;
final paintDottedLine = Paint()
..color = borderColor.withOpacity(0.5)
..strokeWidth = 1.2;
var path = Path();
}
// Since this Sky painter has no fields, it always paints
// the same thing and semantics information is the same.
// Therefore we return false here. If we had fields (set
// from the constructor) then we would return true if any
// of them differed from the same fields on the oldDelegate.
bool shouldRepaint(TicketPainter oldDelegate) => false;
bool shouldRebuildSemantics(TicketPainter oldDelegate) => false;
}
绘制票据 widget
现在我们将定义票的大小和半径。你可以根据自己的需要改变这一点。我们还将定义虚线的大小。
class TicketPainter extends CustomPainter {
final Color borderColor;
final Color bgColor;
static const _cornerGap = 20.0;
static const _cutoutRadius = 20.0;
static const _cutoutDiameter = _cutoutRadius * 2;
TicketPainter({
required this.bgColor,
required this.borderColor,
});
void paint(Canvas canvas, Size size) {
final maxWidth = size.width;
final maxHeight = size.height;
final cutoutStartPos = maxHeight - maxHeight * 0.2;
final leftCutoutStartY = cutoutStartPos;
final rightCutoutStartY = cutoutStartPos - _cutoutDiameter;
final dottedLineY = cutoutStartPos - _cutoutRadius;
double dottedLineStartX = _cutoutRadius;
final double dottedLineEndX = maxWidth - _cutoutRadius;
const double dashWidth = 8.5;
const double dashSpace = 4;
final paintBg = Paint()
..style = PaintingStyle.fill
..strokeCap = StrokeCap.round
..color = bgColor;
final paintBorder = Paint()
..strokeWidth = 1
..style = PaintingStyle.stroke
..strokeCap = StrokeCap.round
..color = borderColor;
final paintDottedLine = Paint()
..color = borderColor.withOpacity(0.5)
..strokeWidth = 1.2;
var path = Path();
}
bool shouldRepaint(TicketPainter oldDelegate) => false;
bool shouldRebuildSemantics(TicketPainter oldDelegate) => false;
}
上面我们定义了不同 UI 组件的 X、 Y 坐标。这个 X、 Y 坐标将用于在 widget 中绘制切割线和虚线的路径。
现在,我们将实现的方法,绘制切割和角弧。
class TicketPainter extends CustomPainter {
final Color borderColor;
final Color bgColor;
static const _cornerGap = 20.0;
static const _cutoutRadius = 20.0;
static const _cutoutDiameter = _cutoutRadius * 2;
TicketPainter({
required this.bgColor,
required this.borderColor,
});
void paint(Canvas canvas, Size size) {
///Removed code for redability
}
_drawCutout(Path path, double startX, double endY) {
path.arcToPoint(
Offset(startX, endY),
radius: const Radius.circular(_cutoutRadius),
clockwise: false,
);
}
_drawCornerArc(Path path, double endPointX, double endPointY) {
path.arcToPoint(
Offset(endPointX, endPointY),
radius: const Radius.circular(_cornerGap),
);
}
bool shouldRepaint(TicketPainter oldDelegate) => false;
bool shouldRebuildSemantics(TicketPainter oldDelegate) => false;
}
现在最后一步是添加路径来绘制票据 UI。
import 'package:flutter/material.dart';
class TicketPainter extends CustomPainter {
final Color borderColor;
final Color bgColor;
static const _cornerGap = 20.0;
static const _cutoutRadius = 20.0;
static const _cutoutDiameter = _cutoutRadius * 2;
TicketPainter({required this.bgColor, required this.borderColor});
void paint(Canvas canvas, Size size) {
final maxWidth = size.width;
final maxHeight = size.height;
final cutoutStartPos = maxHeight - maxHeight * 0.2;
final leftCutoutStartY = cutoutStartPos;
final rightCutoutStartY = cutoutStartPos - _cutoutDiameter;
final dottedLineY = cutoutStartPos - _cutoutRadius;
double dottedLineStartX = _cutoutRadius;
final double dottedLineEndX = maxWidth - _cutoutRadius;
const double dashWidth = 8.5;
const double dashSpace = 4;
final paintBg = Paint()
..style = PaintingStyle.fill
..strokeCap = StrokeCap.round
..color = bgColor;
final paintBorder = Paint()
..strokeWidth = 1
..style = PaintingStyle.stroke
..strokeCap = StrokeCap.round
..color = borderColor;
final paintDottedLine = Paint()
..color = borderColor.withOpacity(0.5)
..strokeWidth = 1.2;
var path = Path();
path.moveTo(_cornerGap, 0);
path.lineTo(maxWidth - _cornerGap, 0);
_drawCornerArc(path, maxWidth, _cornerGap);
path.lineTo(maxWidth, rightCutoutStartY);
_drawCutout(path, maxWidth, rightCutoutStartY + _cutoutDiameter);
path.lineTo(maxWidth, maxHeight - _cornerGap);
_drawCornerArc(path, maxWidth - _cornerGap, maxHeight);
path.lineTo(_cornerGap, maxHeight);
_drawCornerArc(path, 0, maxHeight - _cornerGap);
path.lineTo(0, leftCutoutStartY);
_drawCutout(path, 0.0, leftCutoutStartY - _cutoutDiameter);
path.lineTo(0, _cornerGap);
_drawCornerArc(path, _cornerGap, 0);
canvas.drawPath(path, paintBg);
canvas.drawPath(path, paintBorder);
while (dottedLineStartX < dottedLineEndX) {
canvas.drawLine(
Offset(dottedLineStartX, dottedLineY),
Offset(dottedLineStartX + dashWidth, dottedLineY),
paintDottedLine,
);
dottedLineStartX += dashWidth + dashSpace;
}
}
_drawCutout(Path path, double startX, double endY) {
path.arcToPoint(
Offset(startX, endY),
radius: const Radius.circular(_cutoutRadius),
clockwise: false,
);
}
_drawCornerArc(Path path, double endPointX, double endPointY) {
path.arcToPoint(
Offset(endPointX, endPointY),
radius: const Radius.circular(_cornerGap),
);
}
bool shouldRepaint(TicketPainter oldDelegate) => false;
bool shouldRebuildSemantics(TicketPainter oldDelegate) => false;
}
最后,将自定义绘图器添加到 widget
最后一步是将 CustomPainter 添加到我们的 initialTicketUi widget 。
import 'package:blogs/ticket_ui/ticket_painter.dart';
import 'package:flutter/material.dart';
class TicketUi extends StatelessWidget {
const TicketUi({Key? key}) : super(key: key);
Widget build(BuildContext context) {
return Scaffold(
body: SafeArea(
child: Center(
child: Container(
height: 220,
margin: const EdgeInsets.all(16),
width: MediaQuery.of(context).size.width,
child: CustomPaint(
painter: TicketPainter(
borderColor: Colors.black,
bgColor: const Color(0xFFfed966),
),
child: Container(),
),
),
),
),
);
}
}
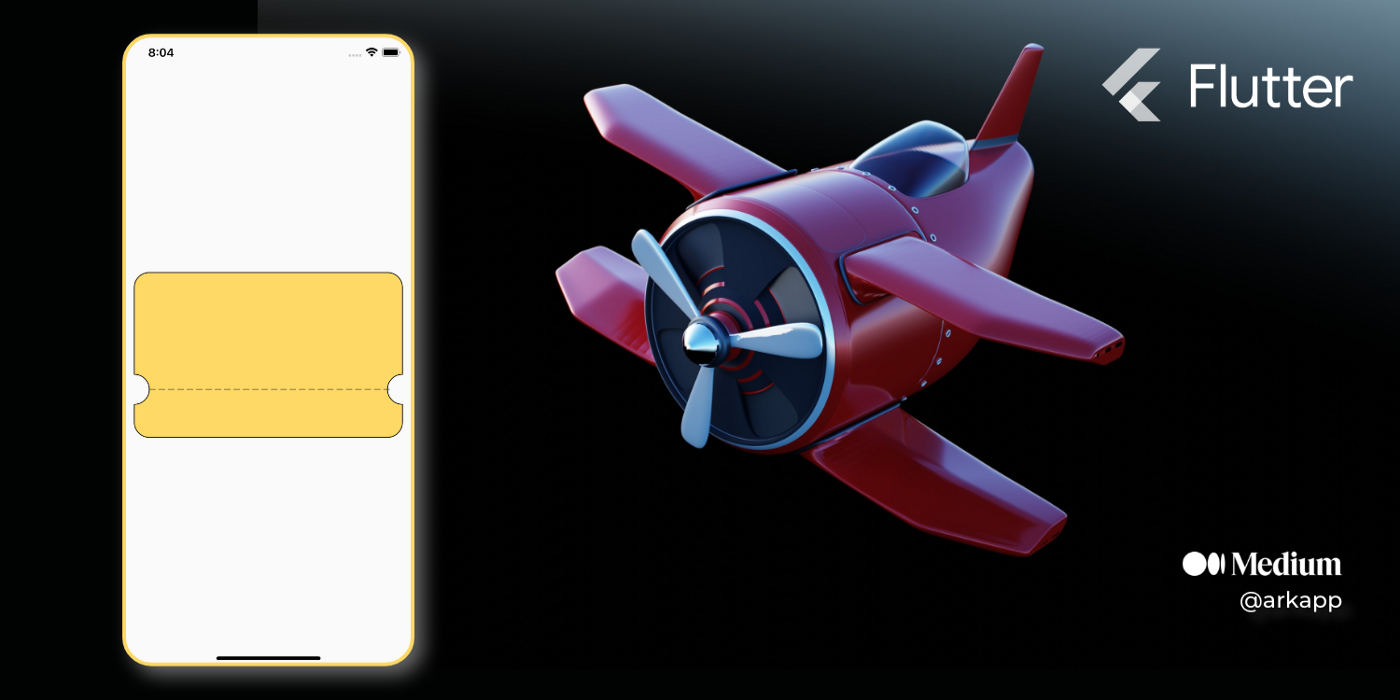
瞧,我们创建了一个很棒的票务用户界面。

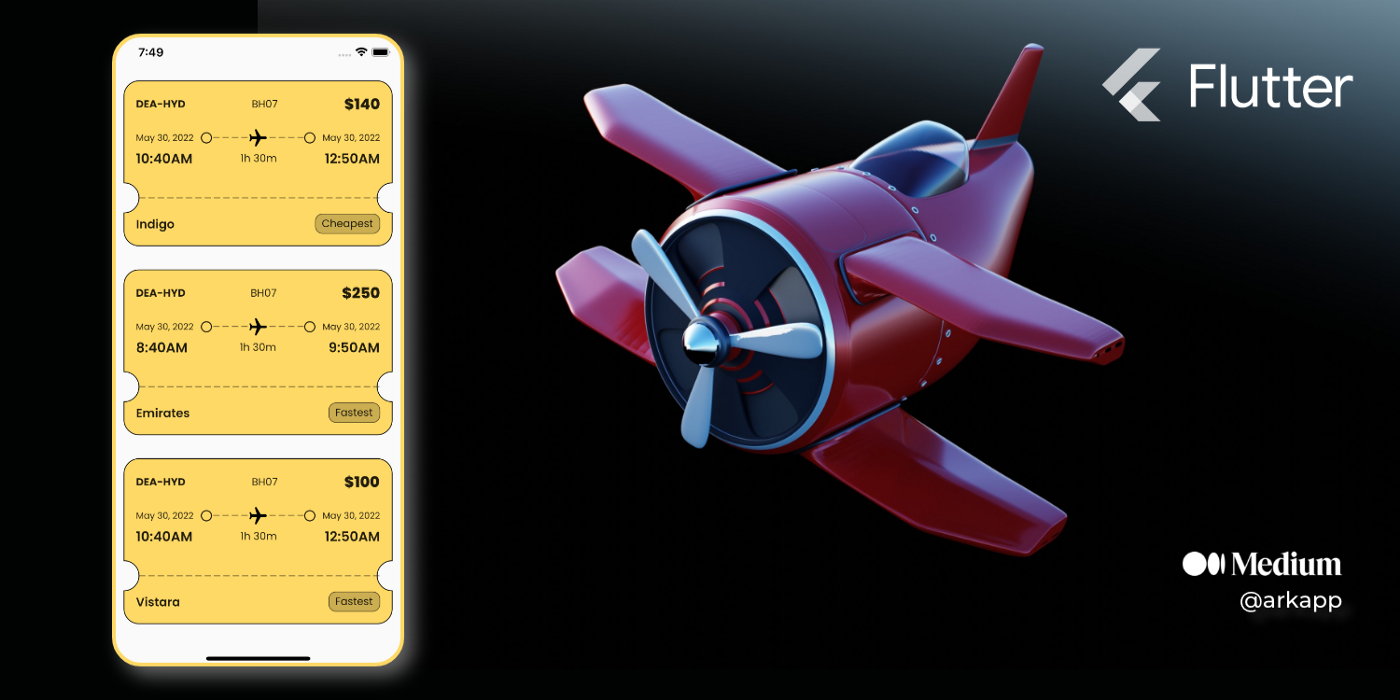
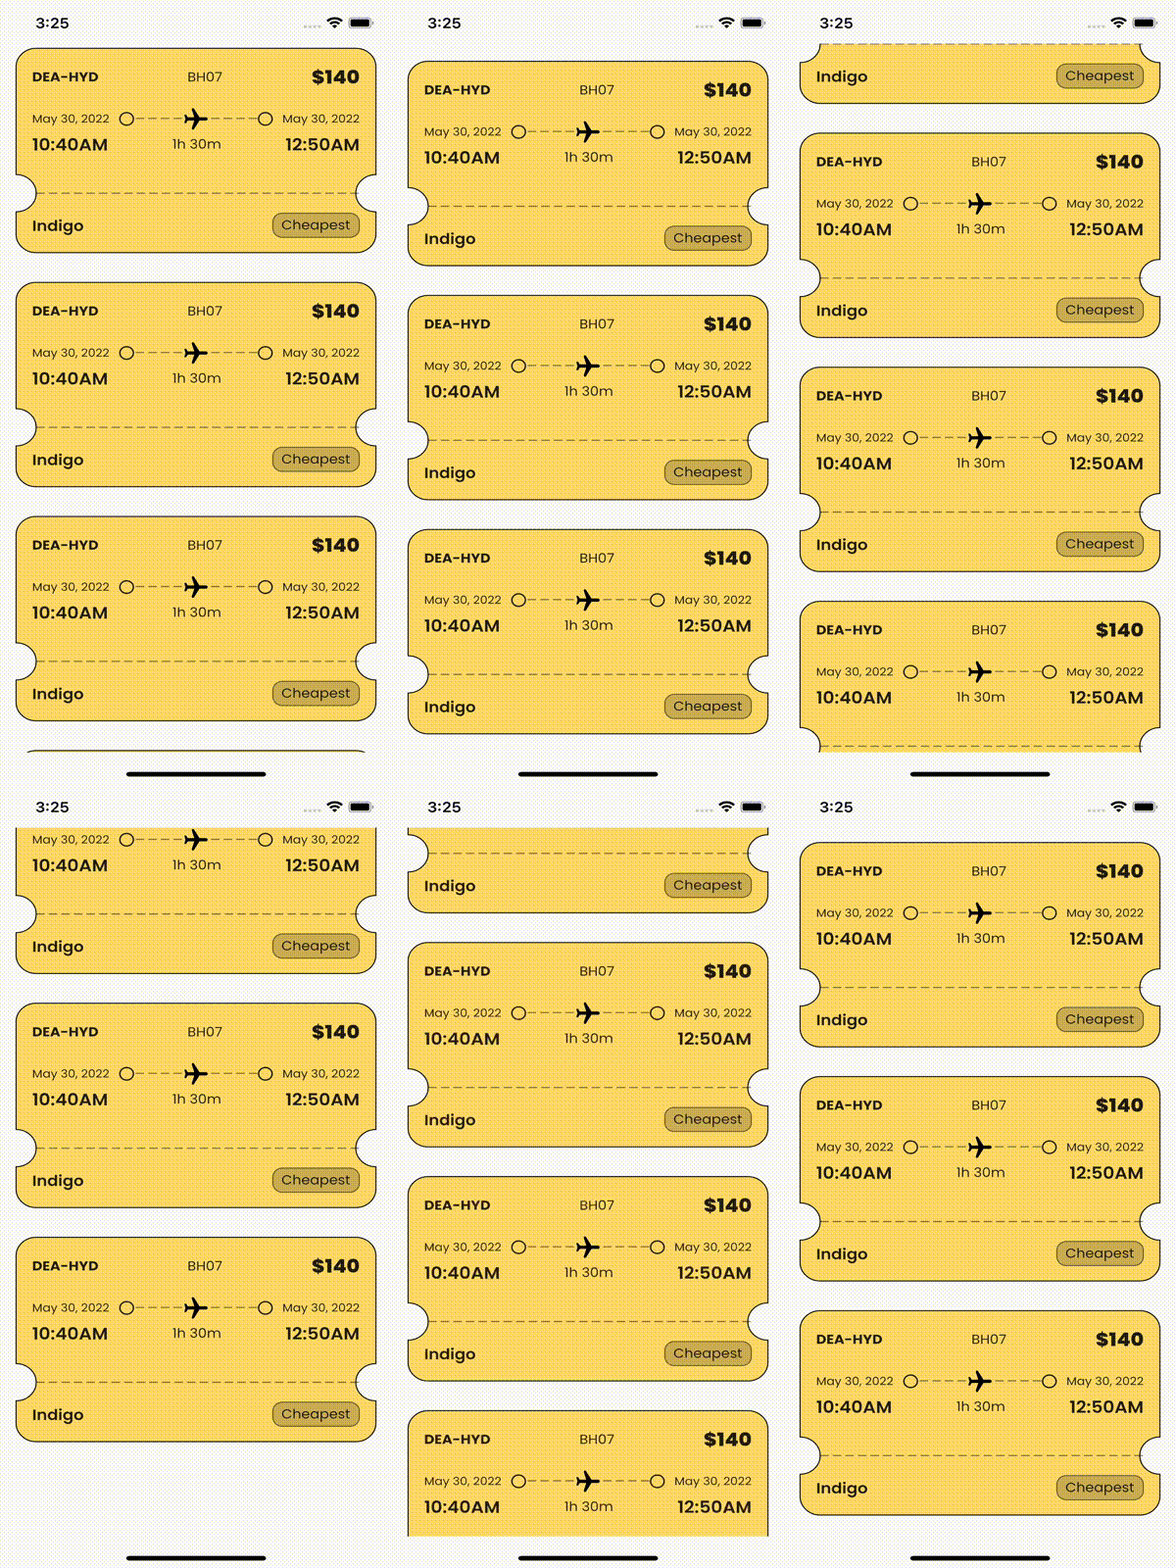
最终界面

import 'package:blogs/ticket_ui/horizontal_dotted_line.dart';
import 'package:blogs/ticket_ui/ticket_painter.dart';
import 'package:flutter/material.dart';
import 'package:google_fonts/google_fonts.dart';
class TicketUiScreen extends StatelessWidget {
const TicketUiScreen({Key? key}) : super(key: key);
Widget build(BuildContext context) {
return Scaffold(
body: SafeArea(
child: ListView.builder(
itemBuilder: (_, __) {
return Container(
height: 220,
margin: const EdgeInsets.all(16),
width: MediaQuery.of(context).size.width,
child: CustomPaint(
painter: TicketPainter(
borderColor: Colors.black,
bgColor: const Color(0xFFfed966),
),
child: Container(
padding: const EdgeInsets.all(16),
child: Column(
children: [
Row(
mainAxisAlignment: MainAxisAlignment.spaceBetween,
children: [
Text(
'DEA-HYD',
style: GoogleFonts.poppins(
fontSize: 14,
fontWeight: FontWeight.w700,
),
),
Text(
'BH07',
style: GoogleFonts.poppins(
fontSize: 14,
fontWeight: FontWeight.w400,
),
),
Text(
'\$140',
style: GoogleFonts.poppins(
fontSize: 20,
fontWeight: FontWeight.w800,
),
),
],
),
const SizedBox(height: 16),
Row(
crossAxisAlignment: CrossAxisAlignment.center,
mainAxisAlignment: MainAxisAlignment.spaceBetween,
children: [
Text(
'May 30, 2022',
style: GoogleFonts.poppins(
fontSize: 12,
fontWeight: FontWeight.w400,
),
),
const Padding(
padding: EdgeInsets.fromLTRB(8, 4, 0, 4),
child: Icon(
Icons.circle_outlined,
size: 18,
),
),
Expanded(
child: Stack(
children: [
Positioned.fill(
child: Align(
alignment: Alignment.center,
child: CustomPaint(
painter: HorizontalDottedLinePainter(),
size: const Size(double.infinity, 1),
),
),
),
const Center(
child: RotatedBox(
quarterTurns: 1,
child: Icon(
Icons.airplanemode_on_rounded,
color: Colors.black,
size: 28,
),
),
),
],
),
),
const Padding(
padding: EdgeInsets.fromLTRB(0, 4, 8, 4),
child: Icon(
Icons.circle_outlined,
size: 18,
),
),
Text(
'May 30, 2022',
style: GoogleFonts.poppins(
fontSize: 12,
fontWeight: FontWeight.w400,
),
),
],
),
Row(
mainAxisAlignment: MainAxisAlignment.spaceBetween,
children: [
Text(
'10:40AM',
style: GoogleFonts.poppins(
fontSize: 18,
fontWeight: FontWeight.w600,
),
),
Text(
'1h 30m',
style: GoogleFonts.poppins(
fontSize: 14,
fontWeight: FontWeight.w400,
),
),
Text(
'12:50AM',
style: GoogleFonts.poppins(
fontSize: 18,
fontWeight: FontWeight.w600,
),
),
],
),
const Spacer(),
Row(
mainAxisAlignment: MainAxisAlignment.spaceBetween,
children: [
Text(
'Indigo',
style: GoogleFonts.poppins(
fontSize: 16,
fontWeight: FontWeight.w600,
),
),
Container(
decoration: BoxDecoration(
borderRadius: BorderRadius.circular(10),
color: Colors.black.withOpacity(0.2),
border: Border.all(
color: Colors.black.withOpacity(0.5),
),
),
child: Padding(
padding: const EdgeInsets.symmetric(
horizontal: 8,
vertical: 2,
),
child: Text(
'Cheapest',
style: GoogleFonts.poppins(
fontSize: 14,
fontWeight: FontWeight.w400,
),
),
),
),
],
),
],
),
),
),
);
},
itemCount: 6,
),
),
);
}
}

结束语
如果本文对你有帮助,请转发让更多的朋友阅读。
也许这个操作只要你 3 秒钟,对我来说是一个激励,感谢。
祝你有一个美好的一天~

© 猫哥
微信 ducafecat
https://wiki.ducafecat.tech
https://ducafecat.com